Scenario/Problem: You
want to create a site for an event. Events in calendar lists can have
an associated subsite that is used to store more information about the
event and help the people managing the event to get ready for it. For
example, when planning a meeting, you might want to collaborate with
other people on the agenda of the meeting. You also might ask several
people who are scheduled to speak in the meeting to upload their
presentations and supporting documents before the meeting so that the
other attendees can read them on time. The attendee list for the meeting
can also be managed on the site; it can list not just who was invited,
but who actually came to the meeting.
This capability is
not exclusive for meetings but can also be used to track information
about an event—for example, a conference that requires some people to
prepare to and collaborate their efforts for that.
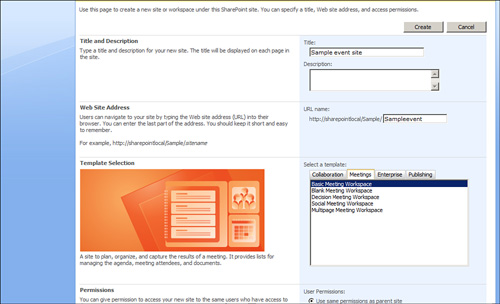
Solution:
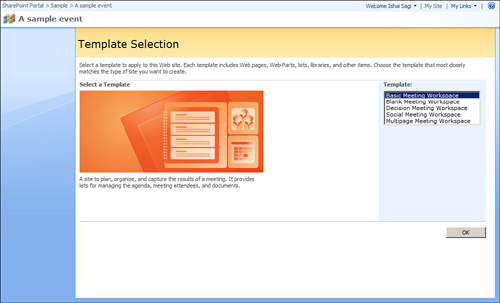
To create an event site, you can use the regular method of creating a
site,and choose one of the event
meeting templates available under the Meetings tab (see Figure 1). This option creates an event site but does not link it to the calendar event item itself; that can be done later.
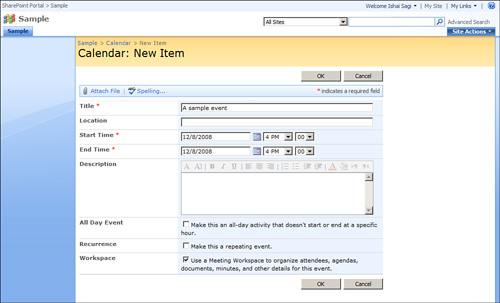
However, you can
create the site directly from the calendar event item itself. Simply
open the calendar event item for which you want to create a site, or
create a new calendar event item (see Figure 2) and select the Workspace option before clicking OK.
When you click OK,
the following screen enables you to either create a new site for the
calendar event item or link the calendar event item with an existing
event site that you created earlier under the current site (see Figure 3).
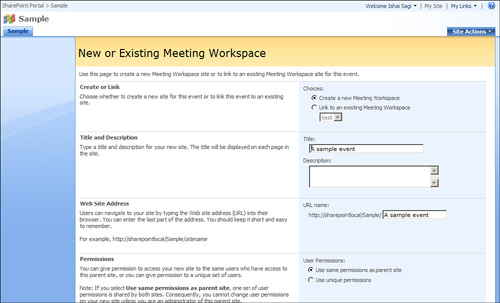
If you choose to create a
new site with the option Create a New Meeting Workspace, the option of
choosing the site template appears after you click OK (see Figure 4).
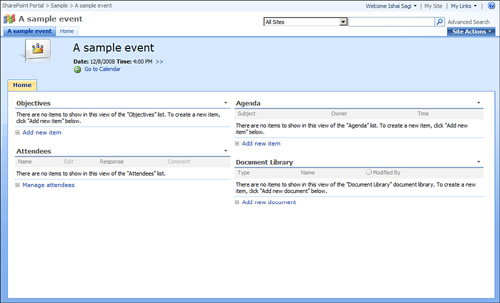
After you select a
template and create the site, a new site is created from that template.
Different templates offer different lists in the site, but the most
common one is the basic meeting workspace, offering management of
objectives, agenda, attendees, and a document library to hold documents
related to the event (see Figure 5).
Create an Agenda
In
a basic event workspace, you create an agenda by adding items to the
Agenda list. A web part with the agenda usually appears on the home
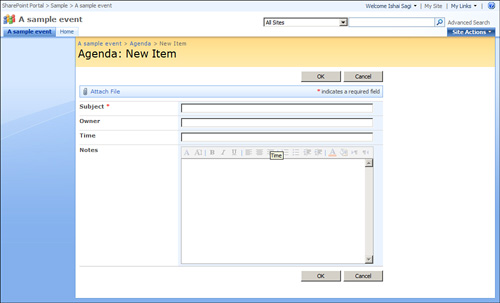
page, so to add an item, simply click the Add New Item link under that
web part. The page for adding an agenda item then opens (see Figure 6). Here, you can specify the subject of the agenda item, who owns it, the time spot allocated to it, and any notes required.
You
manage the agenda as you would in any other list.
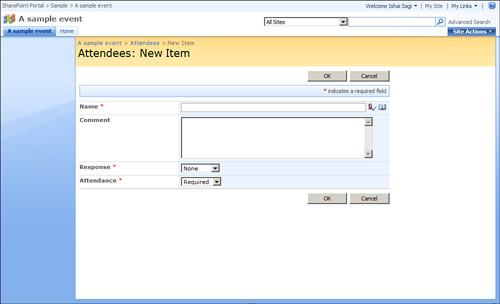
Invite Attendees
If you are the owner of the
event workspace site, you can manage the attendees list of the event by
clicking Manage Attendees under the Attendees web part on the home
page. Selecting this option opens a special list to which you can add
people as attendees, specifying whether each person replied to the
invitation and if he or she is required to attend (see Figure 7).